Publish and Install
In this guide, we’ll walk through how to publish and install a simple TRM package.
Coding
Let’s start by creating a new SAP package called ZTRM_DOCS_SAMPLE, and inside it, a class named ZCL_TRM_DOCS_SAMPLE.
This will be the initial content of our TRM package.
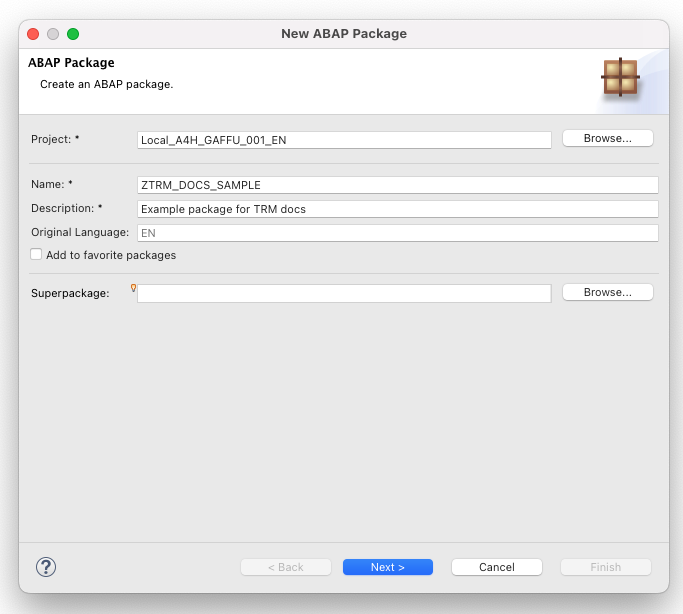
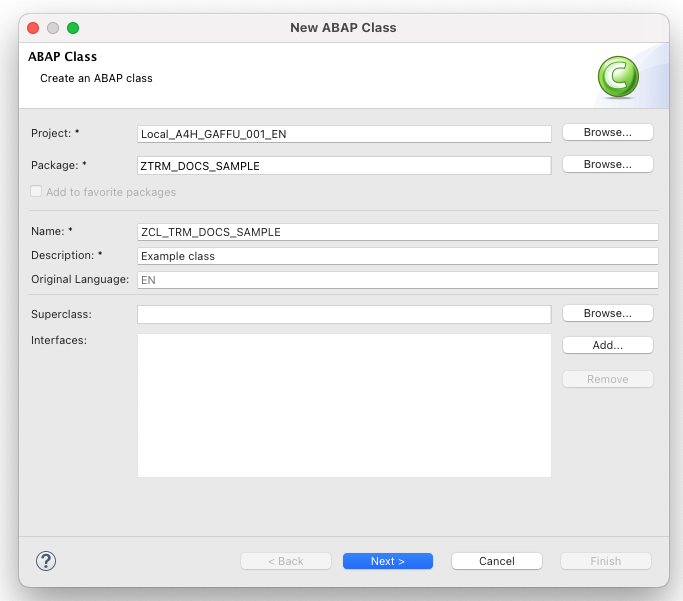
With trm-server installed, this is my current workspace:
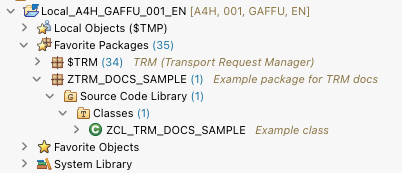
Notice that my package name starts with “Z”.
TRM doesn’t work with temporary packages because it needs transportable objects.
You can use the “Z” namespace or other development namespaces such as “Y” or “/MYCOMPANY/”.
Now I’ll add a simple method, just to have something inside.
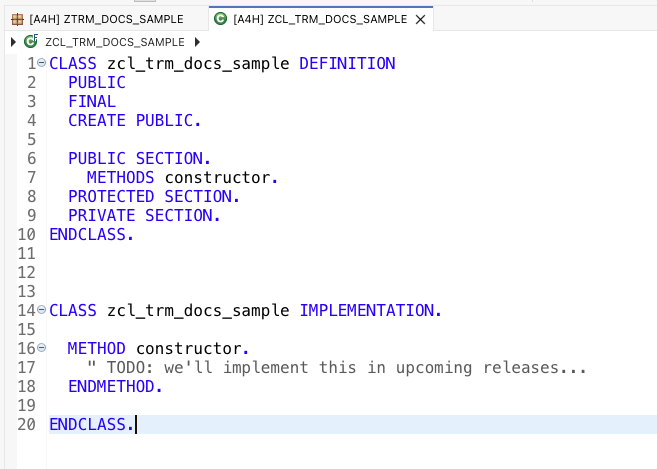
That’s it! I’m done coding and ready to make my first release. 🥳
Publish
We’ll publish to the public registry, which is the default registry included with TRM.
When you create a release, you’re essentially freezing the current state of your package.
Each release acts as a snapshot, often bundled with a changelog or documentation so users know what’s included in that version.
To publish there, you need to be logged in first, so let’s do that:
“public registry” simply means that anyone can browse it.
It doesn’t mean your package will automatically be visible to everyone (you’ll choose that during publish).
Now let’s publish our package using the command:
The scope
@trmsamplescorresponds to an organization named “trmsamples”.
If the organization doesn’t exist or you’re not a member, you’ll get an error during publishing.
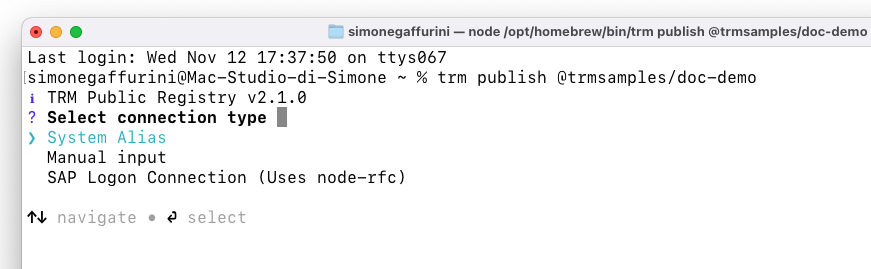
TRM now asks how to connect to your SAP development system.
I’ve already created an alias for mine, so connecting is quick.
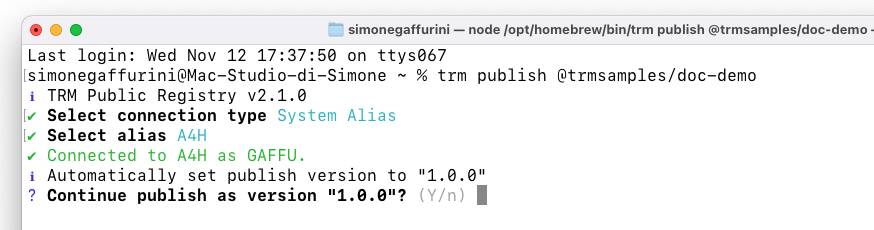
Since I didn’t specify a version, TRM automatically proposes 1.0.0.
To explicitly set a version, run:
trm publish <package name> [version]
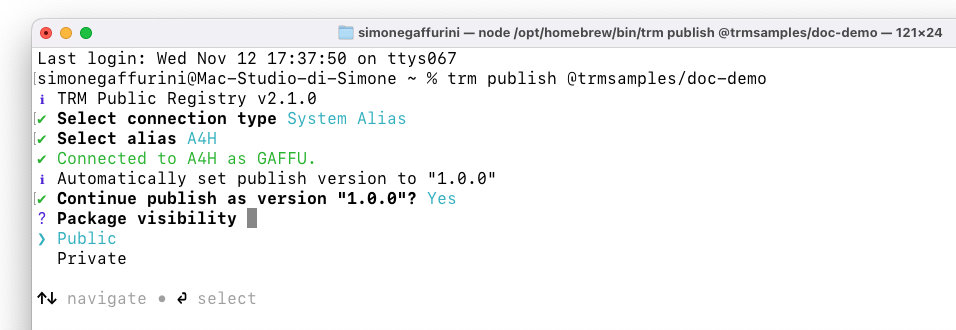
Next, TRM asks if I want to restrict access to specific users or make the package publicly available.
For this demo, I’ll choose public.
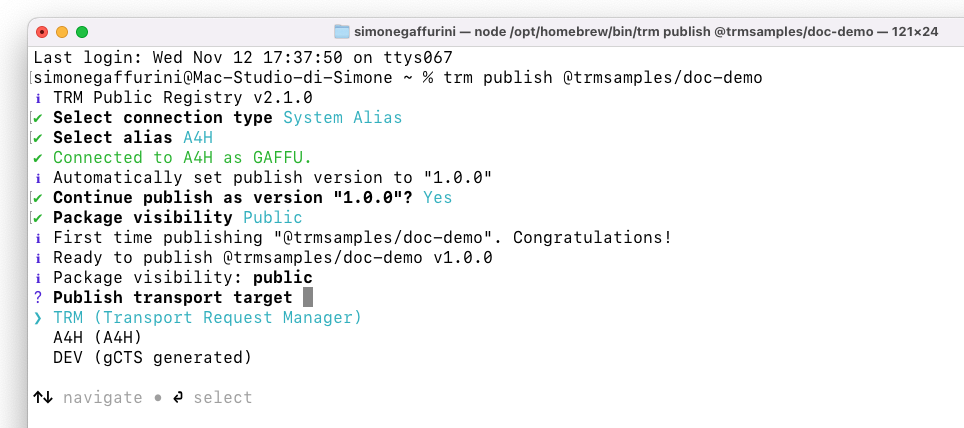
TRM then lists all transport targets.
When publishing, a certain number of transports are generated and released automatically to the selected target.
If possible, create a virtual system so TRM can release everything without worrying about transport targets.
Otherwise, just choose your development or another available system.
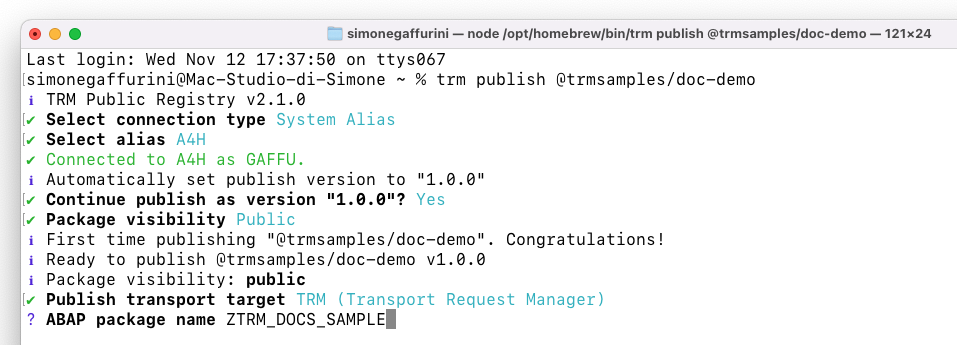
When asked for the ABAP package, I’ll select the one created earlier.
After entering the package name, TRM automatically checks for dependencies with other TRM packages, custom objects, and SAP objects.
I’ll now fill in a few optional manifest fields, such as a short description, license, and publisher details.
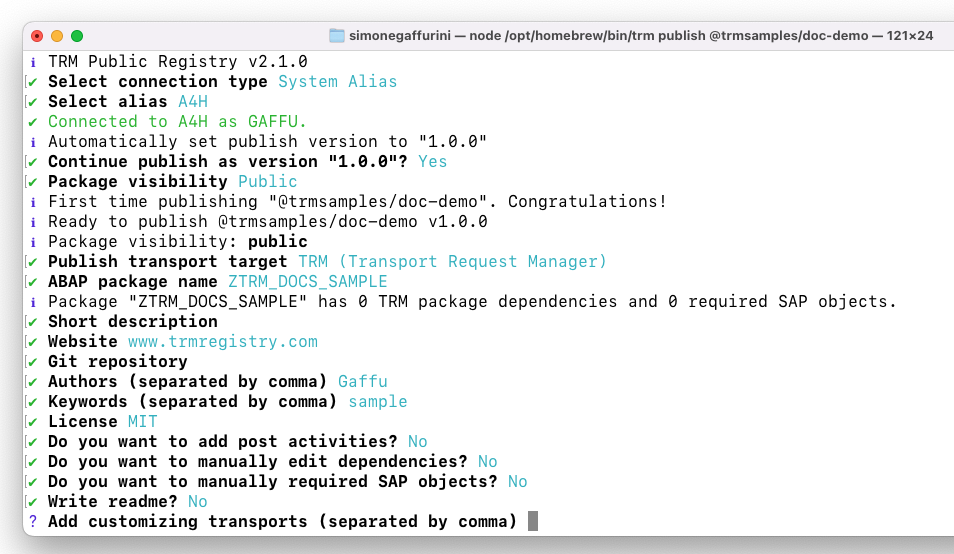
TRM then offers more optional steps, like editing dependencies, post install activities, or customizing.
We’ll explore these in another example.
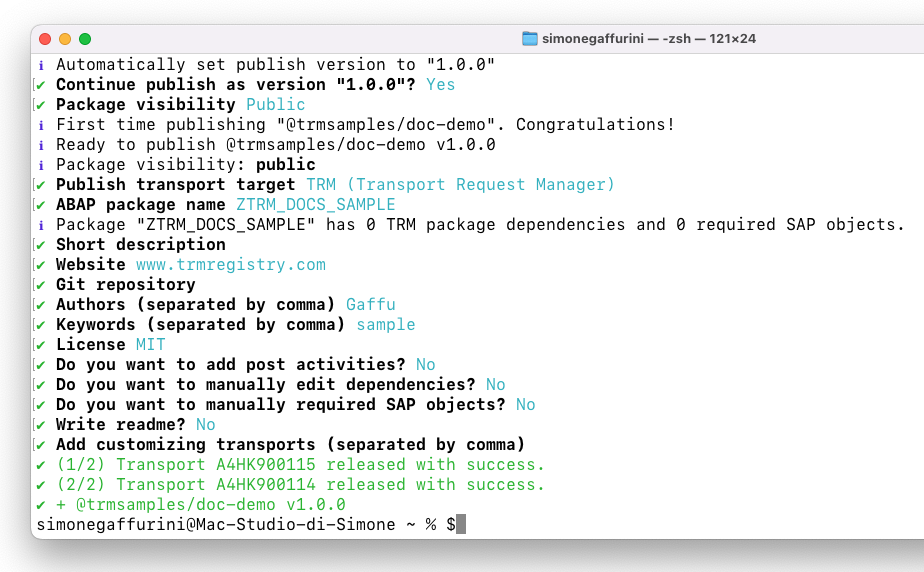
The green message confirms the package was successfully published!
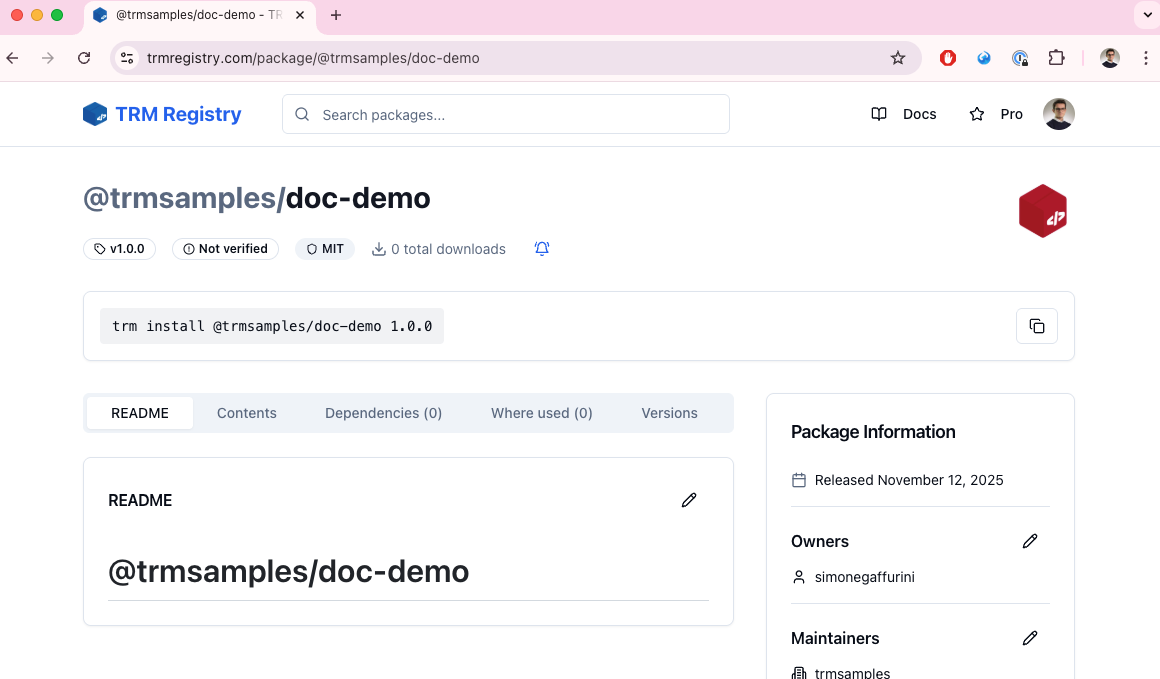
You can also check it on the registry website:
trmregistry.com/package/@trmsamples/doc-demo
Install
Now let’s start fresh: I'm an end user who wants to install the @trmsamples/doc-demo package.
I’m using A4H (ABAP Developer Trial).
Even though the SID remains A4H, this is a clean system: everything from before is gone.
First, let’s see which packages are currently installed in the development system:
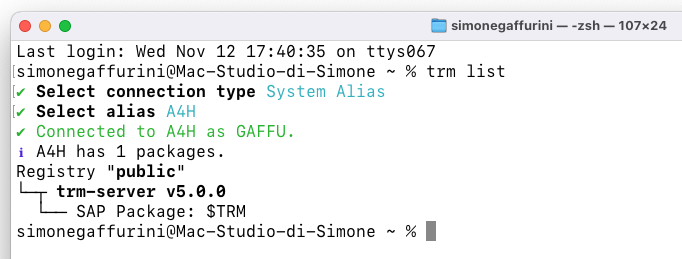
As you can see, only trm-server is installed, which confirms we’re starting from a blank setup.
trm-serveris required only in development systems.
In quality or production systems, transports are handled manually, the old-fashioned way.
Now let’s install our package:
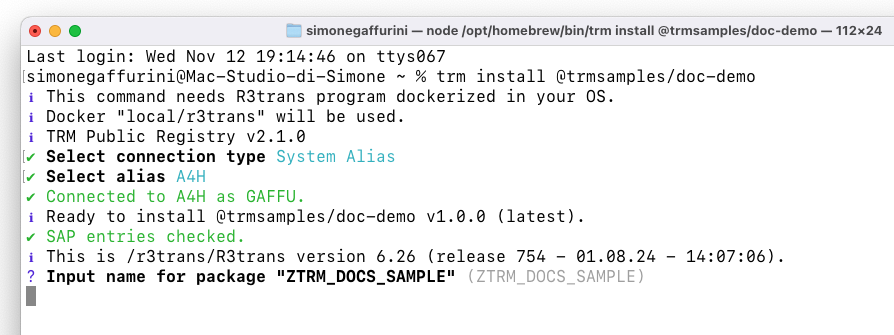
You may notice I didn’t specify a version or tag, so TRM automatically picks the latest release.
At this point, TRM asks how I want to name the SAP package in my system, and proposes the original name chosen by the publisher.
Just like with abapGit, the SAP package name isn’t fixed and can be changed by the end user.
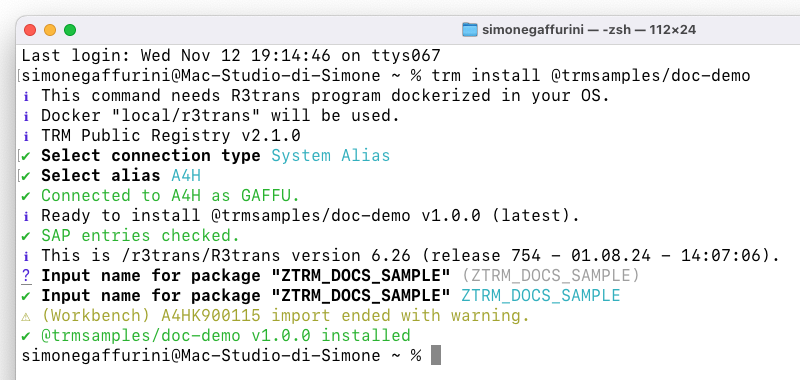
Once again, the green message confirms a successful installation!
Let’s verify it by listing and viewing the installed packages:
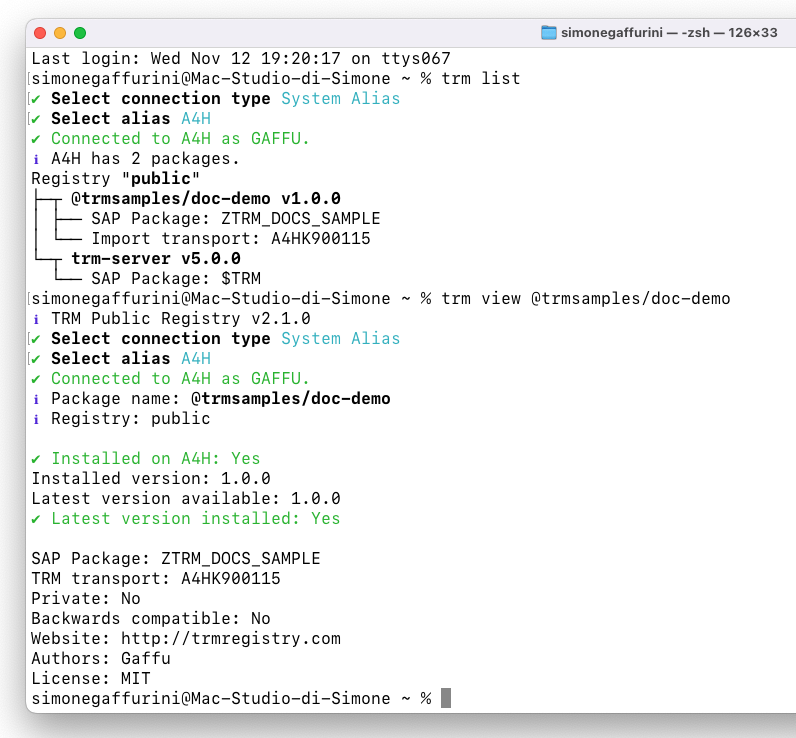
We can now take it to the next step: let’s see how TRM handles dependencies!
➡️ Next: Package with dependencies